
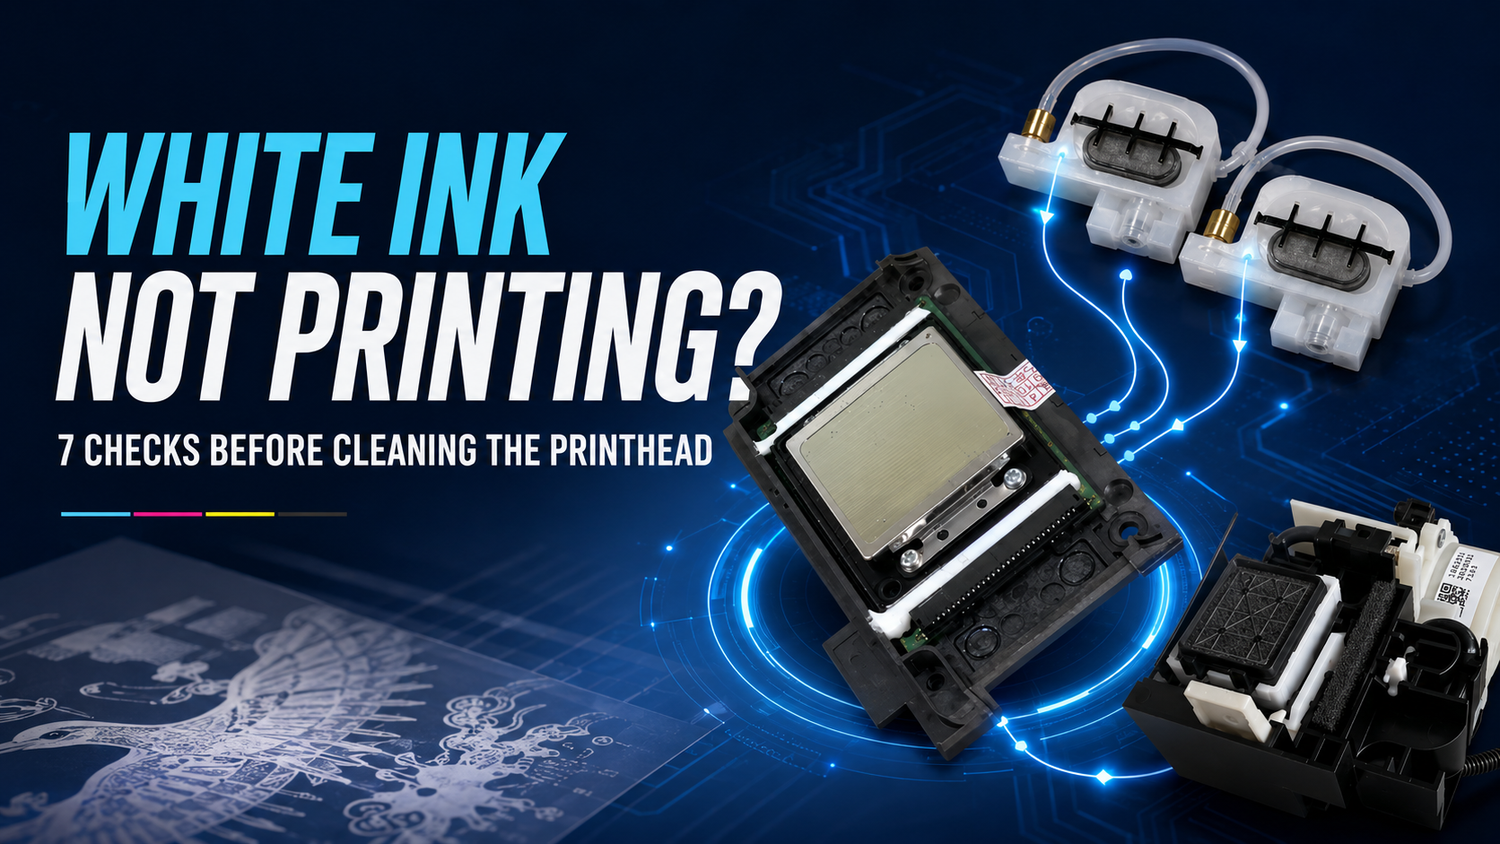
White ink is what gives a DTF transfer its bright, solid base—especially on dark garments. When it stops printing, prints may look faded, transparent, patchy, or completely blank after the color layer is applied.
The good news is that a missing white layer does not always mean the printhead is clogged or damaged. The cause may be as simple as a disabled white layer in the RIP software, settled ink, an empty ink line, or an incomplete nozzle pattern.
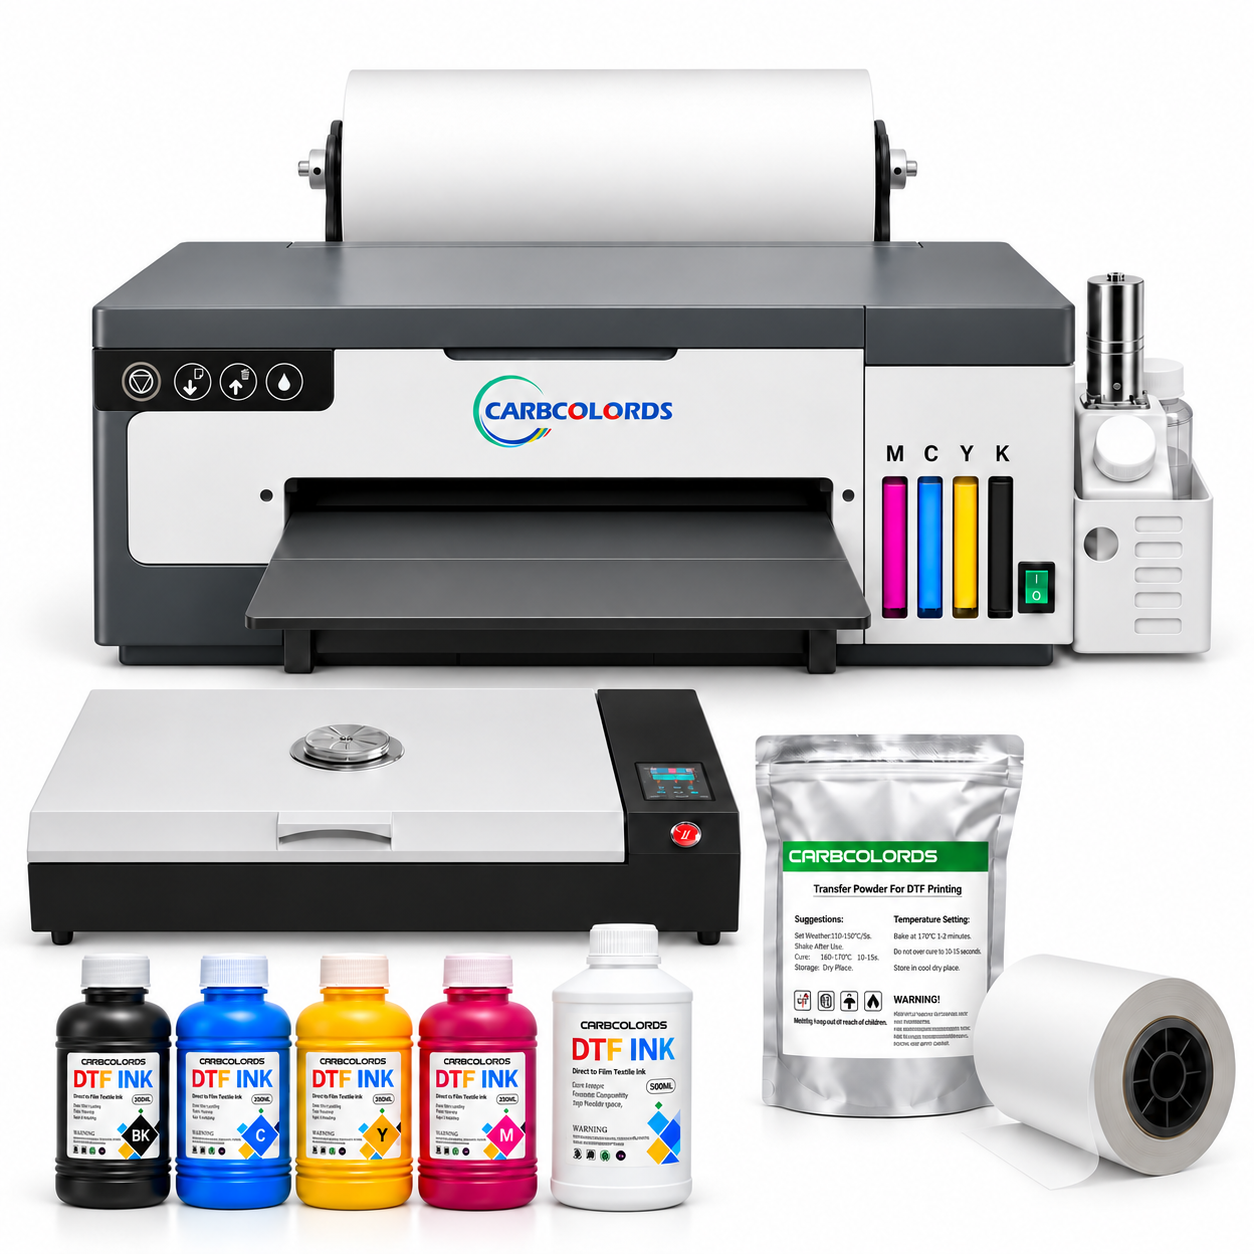
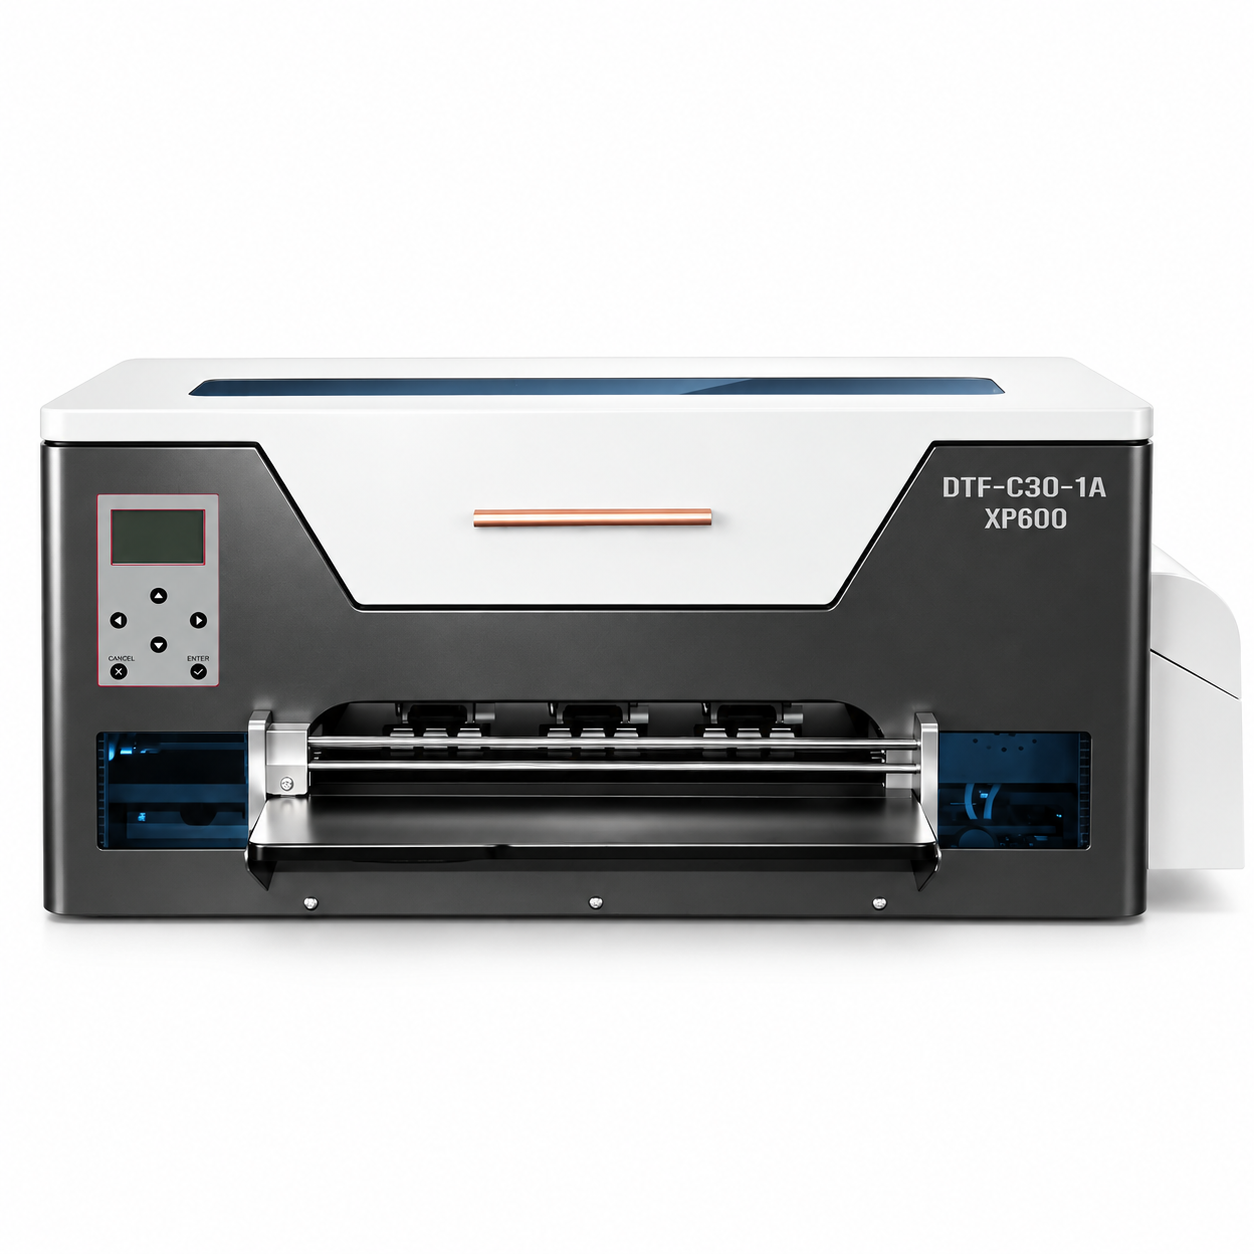
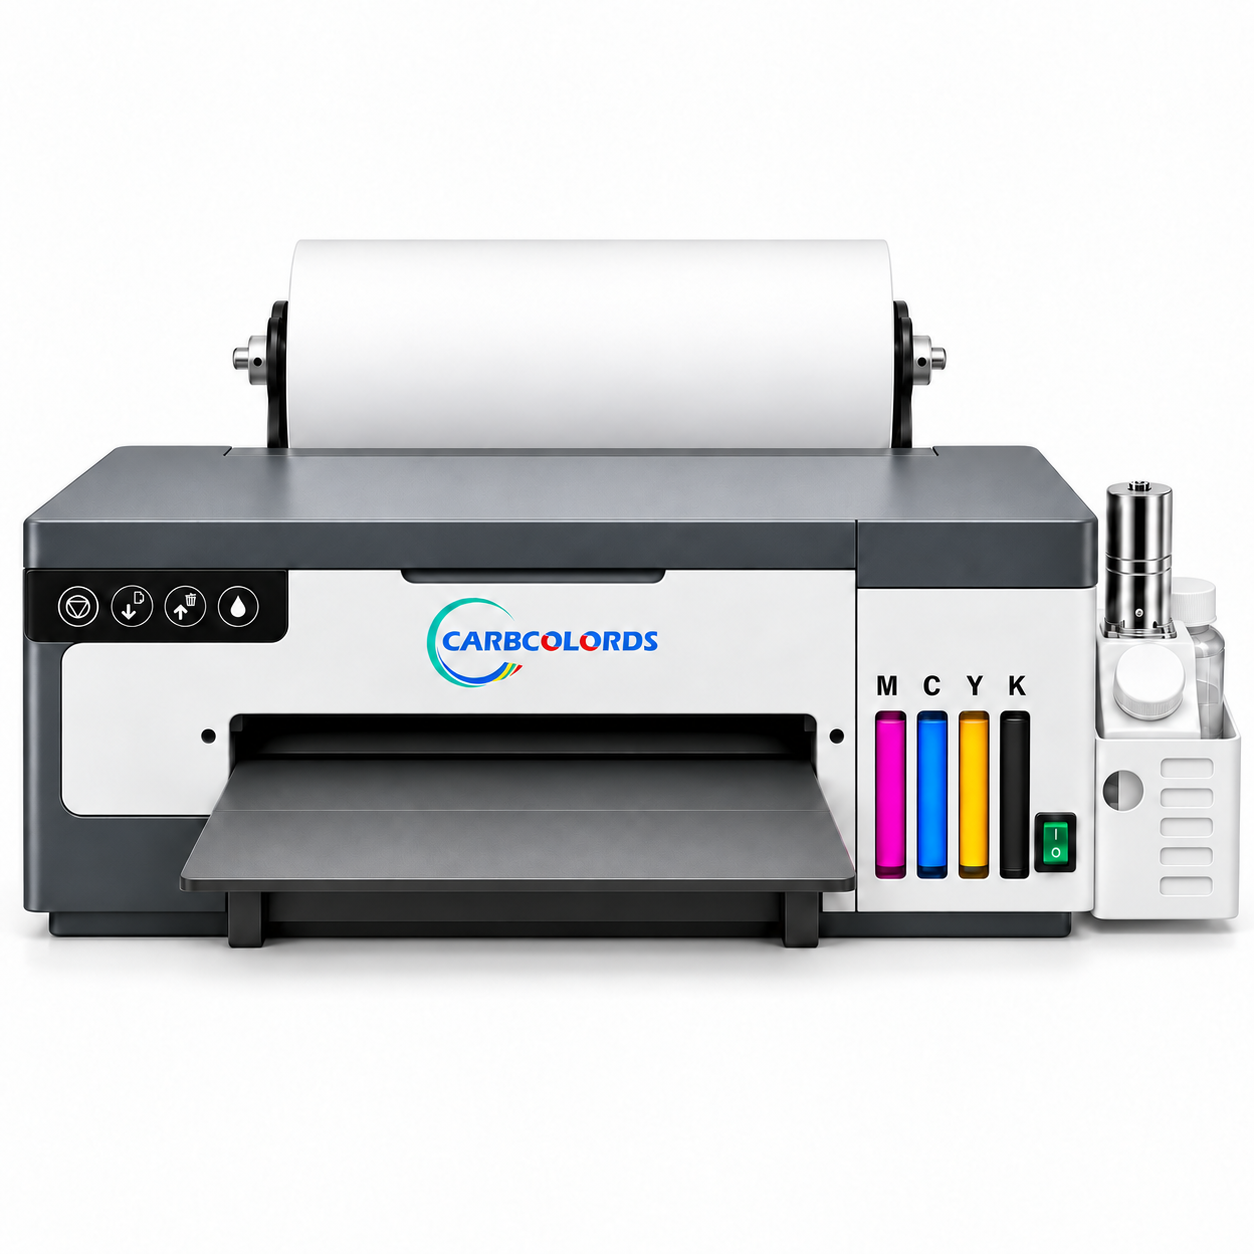
Before removing parts or attempting a manual printhead flush, work through these seven checks in order. This guide uses the Carbcolords A4 DTF Printer as the main example. Controls and maintenance procedures may differ on other models, so always follow the instructions for your printer.
Important: Do not remove, soak, or force fluid through the printhead as your first troubleshooting step. Incorrect pressure, spilled ink, or liquid on electrical contacts can permanently damage the printhead or mainboard.
Quick Navigation
- Print a nozzle test
- Confirm the white layer in the RIP software
- Check the white ink level and ink condition
- Confirm white ink mixing and circulation
- Check the waste-ink pump and capping station
- Inspect the white ink tubes and dampers
- Evaluate the printhead only after checking ink flow
1. Print a Nozzle Test Before Changing Anything
A nozzle test helps separate a hardware or ink-flow problem from a software or artwork problem. Run the test directly from the printer or its maintenance utility before printing another full design.
Look closely at the white channels:
- The white pattern is complete: The printhead and white ink supply are probably working. Move to Check 2 and review the RIP settings.
- A few lines are missing: Run one automatic cleaning cycle, wait for it to finish, and print a new nozzle test.
- One white channel is missing: The problem may be related to one ink line, one damper, or part of the capping seal.
- Both white channels are completely blank: Check the ink supply, circulation, tubes, and software settings before assuming that both channels are clogged.
Do not run many cleaning cycles in a row. Each cycle uses ink and fills the waste-ink bottle. If the pattern does not improve after one or two properly completed cycles, continue with the checks below.
2. Confirm That the RIP Software Is Creating a White Layer
If the nozzle test contains white ink but the design prints without a white base, the printer may be fine. The white layer may be disabled, set too lightly, or missing from the print job.
In your RIP software, confirm that:
- The correct printer and color-channel configuration are selected.
- White ink output is enabled.
- The print mode includes both CMYK and white rather than CMYK only.
- The artwork has a valid white underbase or the RIP is set to generate one.
- White ink density is not set to zero or an extremely low value.
- The correct print order and film orientation are selected.
Try a small, simple test file with a known white underbase. If that file prints correctly, review the original artwork and RIP settings instead of cleaning the printhead.
3. Check the White Ink Level, Quality, and Condition
Make sure there is enough white ink in the bottle or tank and that the supply tube remains submerged. If the ink level becomes too low, the system can pull in air instead of ink.
White DTF ink contains heavier pigment than CMYK ink. Some settling during storage is normal, but low-quality, aged, contaminated, or incompatible white ink can settle excessively and restrict the tubes, dampers, or printhead channels. Poor white ink quality may therefore look like a printhead clog even when the problem started farther upstream.
Before refilling:
- Use fresh, compatible DTF white ink.
- Gently mix the bottle according to its instructions.
- Do not use ink that looks unusually thick, stringy, separated into hard layers, or contaminated with visible particles.
- Keep the bottle opening, cap, and filling area clean.
- Do not mix unknown brands or formulas unless compatibility is confirmed.
- Never add water, alcohol, or household cleaner to DTF ink.
If you need a matched CMYK and white ink supply, see the Carbcolords DTF Ink Refill Kit. Using a consistent, compatible formula helps reduce one major unknown when troubleshooting white ink flow.
4. Confirm That White Ink Is Mixing and Circulating
A white ink circulation system helps keep pigment moving, but it must be operating correctly. With the printer powered on and following its normal startup procedure, observe the white ink system.
Check whether:
- The white ink mixing function starts normally.
- Ink is moving through the circulation path.
- The pump sounds normal rather than silent, unusually loud, or strained.
- The return tube is not blocked, pinched, or disconnected.
- Thick sediment is not visible at the bottom of the ink container.
On the Carbcolords A4 printer, built-in white ink mixing and circulation help reduce settling during normal use. They do not replace regular nozzle tests, correct shutdown, or proper care during long idle periods.
If the printer has been unused for several days, let the normal circulation process complete before running a nozzle test. Do not shake the printer, aggressively shake an installed tank, or force settled material into the ink lines.
5. Check the Waste-Ink Pump and Capping Station First
If a nozzle test is still missing white ink after the earlier checks, inspect the cleaning system before assuming the XP600 printhead is clogged. During automatic cleaning, the printhead parks over the capping station. The cap must seal against the printhead, and the waste-ink pump must create enough suction to draw ink through the nozzles. A blocked pump, pinched waste tube, dirty cap, or poor seal can make a cleaning cycle appear to run normally while no ink is actually pulled through the printhead.

Without disassembling the printer, check for:
- Dried ink, powder, or debris around the accessible capping surface
- A cap that does not sit flat beneath the parked printhead
- A wiper that is heavily coated with ink residue
- A waste tube that is bent, pinched, disconnected, or blocked
- A full waste-ink bottle
- No pump sound or no visible waste-ink movement during a cleaning cycle
- A printhead that does not return to its normal parked position
If the pump does not move waste ink, stop repeating cleaning cycles. Repeated cleaning cannot clear the nozzles when the capping station is not sealed or the pump cannot create suction. If replacement is confirmed by technical support, see the Carbcolords DTF Printer Waste Ink Pump and confirm compatibility with your printer before ordering.
6. Inspect the White Ink Tubes and Dampers
Once the cleaning system is confirmed to be working, follow the accessible white ink tubes from the bottle toward the carriage. A blocked, folded, leaking, or air-filled tube can prevent ink from reaching the printhead. The damper sits between the ink tube and printhead; it regulates ink flow and filters small particles. An empty or blocked damper can create the same symptom as a clogged printhead.

Look for:
- A long air gap or empty section that does not move
- A tube folded behind a bracket or bent sharply
- A loose connection or wet ink around a fitting
- Ink reaching one white line but not the other
- One white damper empty while the other is full
- A damper that leaks, will not fill, or is not seated correctly
Watch the white ink tube and damper inspection video before touching any connection. Turn off and unplug the printer before removing a damper, protect the printhead area with paper towels, and follow model-specific technical guidance.
Do not pull ink with a syringe unless a technician has confirmed the correct tube, direction, volume, and procedure for your exact model. Excessive suction can damage the damper, introduce more air, or cause ink to leak near the printhead. If a damper is confirmed to be blocked or damaged, see the XP600 Printer Damper and confirm compatibility before ordering.
7. Evaluate the Printhead Only After Checking Ink Flow
If the white ink is fresh, circulation is normal, the waste-ink pump creates suction, the capping station seals correctly, and both tubes and dampers are full, the remaining problem may be dried ink in the printhead channels or an electrical issue. At this point, send the nozzle test and videos of the pump, tubes, and dampers to technical support before removing or flushing the printhead.

If your printer manual or Carbcolords support recommends light surface maintenance, use a clean low-lint swab and only the specified fluid. Keep liquid away from cables and electrical contacts, and never pour fluid directly onto the printhead.
The Carbcolords Printhead Cleaning & Moisturizing Fluid Kit contains separate fluids for approved cleaning and idle-time care. Cleaning fluid and moisturizing fluid are not interchangeable: moisturizing fluid is mainly used to help protect the printhead during downtime, and neither fluid should be forced through the printhead without approved instructions for the exact printer model.
What to Do After the Seven Checks
Use the results to choose the next step:
- The nozzle test is good, but the design has no white: Correct the artwork or RIP white-layer settings.
- The nozzle test improves after one cleaning: Print another test and a small sample before returning to production.
- The waste pump makes no sound or moves no ink: Check the cap seal, waste tube, pump, and waste bottle before diagnosing the printhead.
- One white line or damper is empty: Stop repeated cleaning and inspect the ink tube and damper with technical guidance.
- Both white lines are full, but both channels remain blank: Send support the nozzle test and a video of the cleaning cycle.
- The circulation or waste pump is not working: Do not continue printing until the pump, tubes, or electrical connection has been checked.
- Ink is leaking near a cable or circuit board: Power down safely and contact support immediately.
When contacting support, include your order number, printer model, a clear photo of the nozzle test, a short video of the white ink circulation, and a video of the tubes and dampers. This information can often identify the problem without unnecessary disassembly.
How to Reduce White Ink Problems in the Future
- Print a nozzle test before every production session.
- Keep enough compatible white ink in the supply container.
- Run the printer's normal mixing and circulation routine on schedule.
- If you do not print daily, run the recommended maintenance process every 2–3 days.
- Prepare the printer correctly before it sits unused for more than five days.
- Keep film scraps, powder, dust, and dried ink away from the carriage and capping area.
- Run one cleaning cycle, then test—do not clean repeatedly without checking the result.
- Use cleaning fluid and moisturizing fluid only for their separate, approved purposes.
For a complete care schedule, read How to Maintain a DTF Printer: Daily, Weekly, and Long-Term Care Guide.
Frequently Asked Questions
Why is my DTF printer printing color but no white ink?
The RIP software may not be generating a white layer, or white ink may not be reaching the printhead. Start with a nozzle test. If white appears in the test, check the RIP settings. If white is missing from the test, inspect the ink level, circulation, tubes, dampers, and cleaning system.
Does missing white ink always mean the printhead is clogged?
No. An empty ink container, poor-quality or incompatible white ink, a disabled white layer, air in a tube, an empty damper, a poor capping seal, or a blocked waste-ink pump can create the same symptom. Check the ink path and cleaning system before attempting printhead cleaning.
How many automatic cleaning cycles should I run?
Start with one cycle and print a new nozzle test. If there is some improvement, one additional cycle may help. If there is no improvement, stop repeating the process and investigate the ink supply or contact technical support.
Can I use a syringe to pull white ink through the damper?
Only under model-specific guidance from a qualified technician. Using the wrong port, direction, or pressure can damage the damper or printhead and may cause a leak near electrical components.
Is moisturizing fluid used to unclog a printhead?
Moisturizing fluid is mainly intended to help keep the printhead area moist during planned downtime. It is different from cleaning fluid and DTF ink. Do not force it through the printhead unless the approved instructions for your exact printer specifically require that procedure.
Start With the Simple Checks
When white ink stops printing, the safest approach is also the most efficient: test first, inspect the ink path, confirm the software settings, and change only one thing at a time.
A complete nozzle test and a few clear photos can tell you much more than repeated cleaning cycles. If the next step involves removing the printhead, opening an electrical area, or forcing fluid through an ink channel, stop and contact technical support before continuing.
Explore the Carbcolords A4 DTF Printer with built-in white ink mixing and circulation, automatic printhead maintenance, roll feeding, and remote setup support.

Leave a comment
This site is protected by hCaptcha and the hCaptcha Privacy Policy and Terms of Service apply.